Categories
 Profile
 Contacts
 Notes & Cloud Files
 CRM
CRM Billing
 Quote Flow
 Tasks
Tasks ClockEase & Payroll
 Phone Hub
 Booking Hub
 Fleet Hub
 HireFlow
 Cybix AI
 Connect
 Administration
 Sales & Operations
 Video Meeting
- Cybix App
- About the development company.
- About my Membership
-
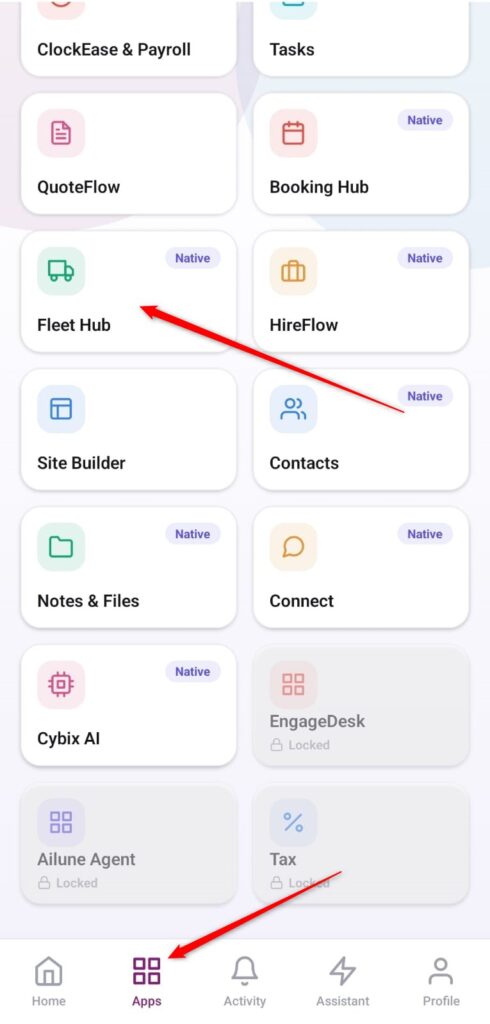
Open the App Directory: On the bottom navigation bar of the application, tap the Apps menu button represented by the four-square layout icon.
-
Access the Fleet Hub: Within the active operational checklist grid, locate and tap the Fleet Hub module card.
-
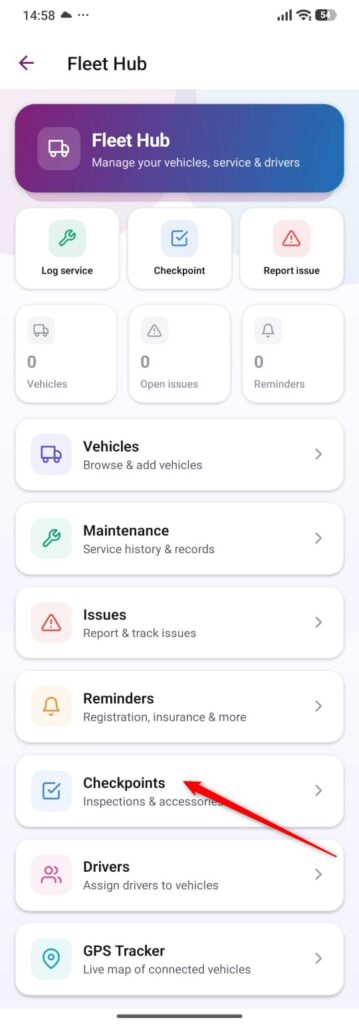
Open the Checkpoints Section: From the primary Fleet Hub dashboard, scroll down and select the management row labeled Checkpoints (Inspections & accessories).
-
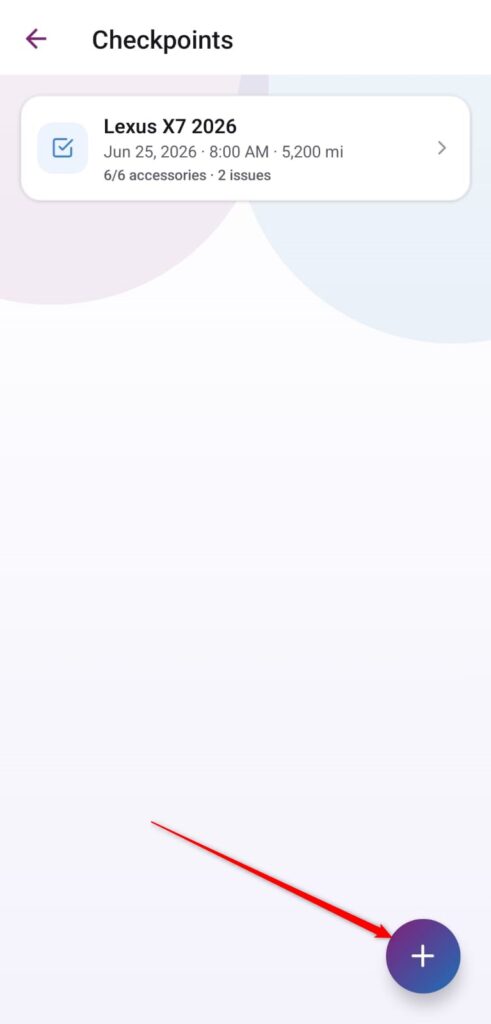
Launch a New Checkpoint Form: Inside your active checkpoints directory log view, tap the purple floating action button featuring the
+icon situated in the bottom right corner.
-
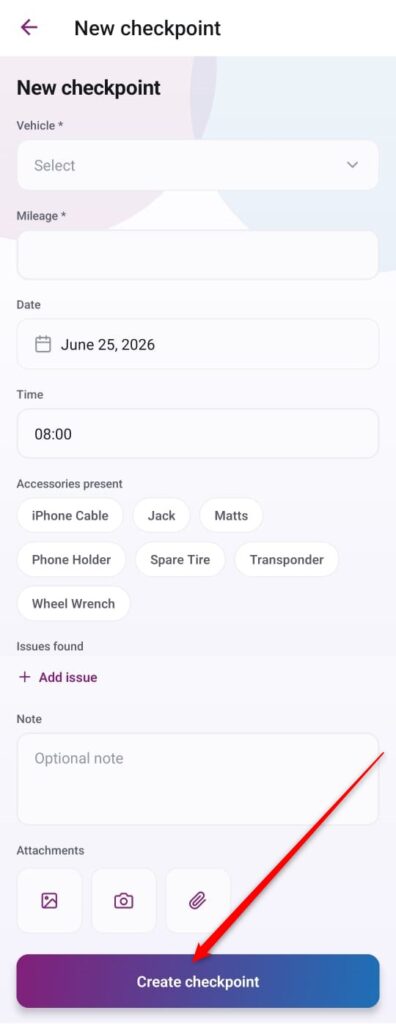
Input Form Parameters: Complete the required and optional property fields displayed on the layout creation screen:
-
Vehicle: Tap the dropdown selector to assign the specific targeted asset profile.
-
Mileage: Key in the current odometer tracking digits for the vehicle.
-
Date & Time: Verify or select the dynamic timestamp marker using the calendar picker card and check-in hour entry row.
-
Accessories present: Tap the matching asset labels (such as iPhone Cable, Jack, Matts, Phone Holder, Spare Tire, Transponder, or Wheel Wrench) to confirm which operational items are currently inside the vehicle.
-
Issues found: Tap the + Add issue selection link if you need to dynamically chain a failure report found during inspection.
-
Note & Attachments: Document any custom feedback using the Note box and utilize the media tool buttons to append photo files if needed.
-
-
Commit and Save the Log: Review all your configured inspection variables and tap the prominent purple action bar at the bottom labeled Create checkpoint to permanently save the history file entry.