Categories
 Profile
 Contacts
 Notes & Cloud Files
 CRM
CRM Billing
 Quote Flow
 Tasks
Tasks ClockEase & Payroll
 Phone Hub
 Booking Hub
 Fleet Hub
 HireFlow
 Cybix AI
 Connect
 Administration
 Sales & Operations
 Video Meeting
- Cybix App
- About the development company.
- About my Membership
-
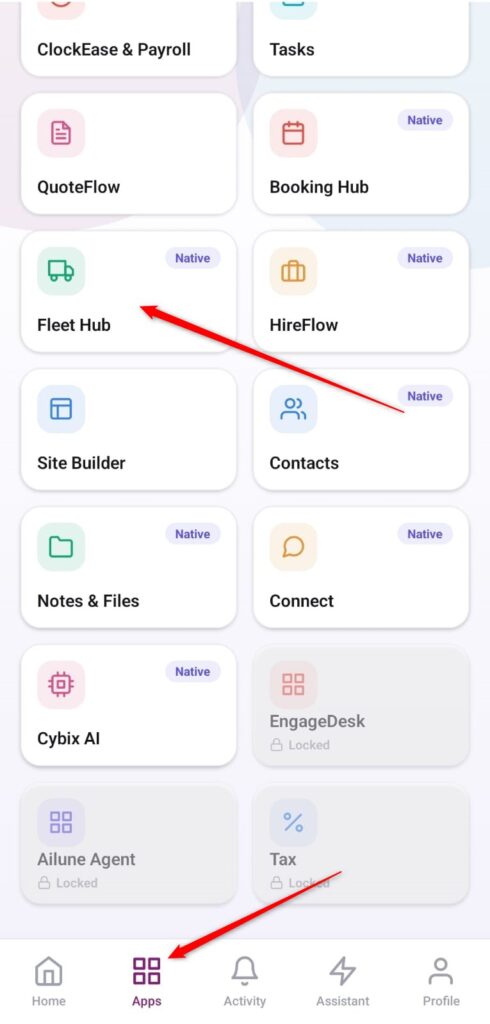
Open the App Directory: On the bottom navigation bar of the application, tap the Apps menu button represented by the four-square layout icon.
-
Access the Fleet Hub: Within the active operational checklist grid, locate and tap the Fleet Hub module card.
-
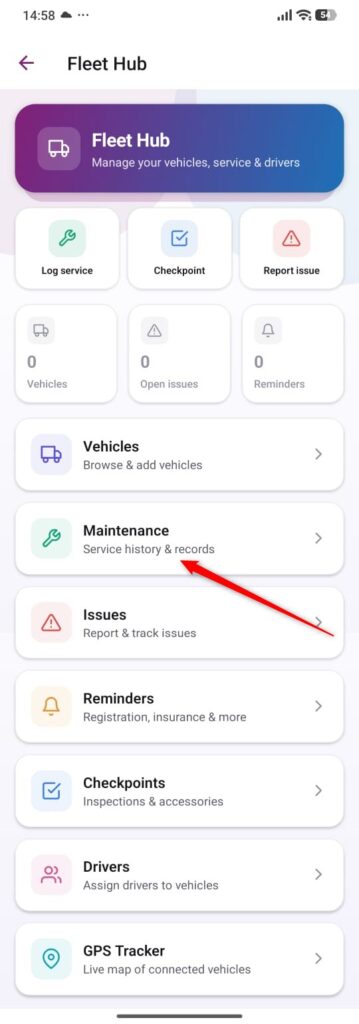
Open the Maintenance Section: From the primary Fleet Hub dashboard, scroll down and select the management row labeled Maintenance (Service history & records).
-
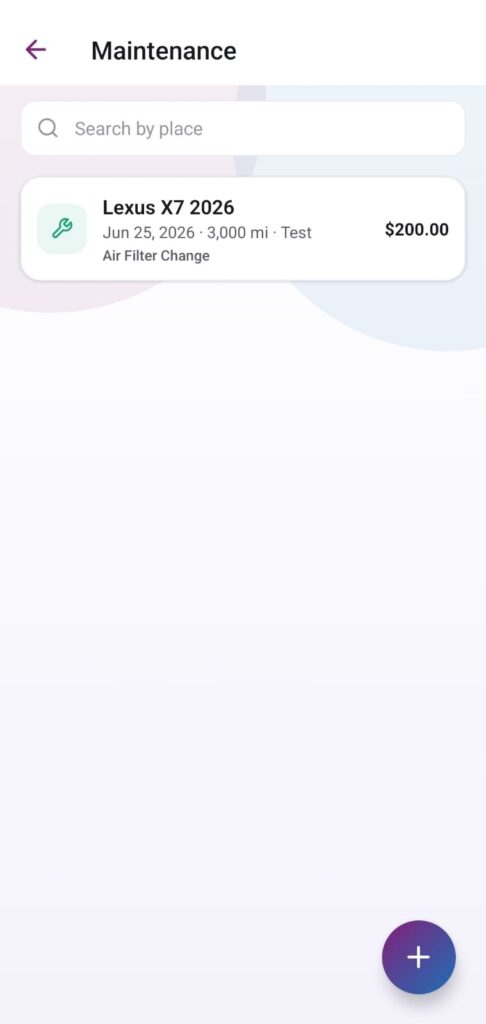
Launch a New Record Form: Inside your history log registry view, tap the purple floating action button featuring the
+icon situated in the bottom right corner.
-
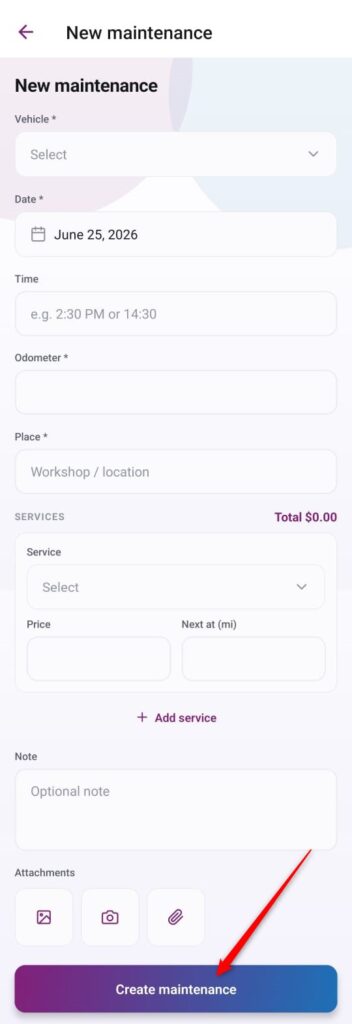
Input Form Parameters: Complete the required property inputs as shown on the layout screen:
-
Vehicle: Tap the dropdown selector to assign the targeted asset profile (e.g., Lexus X7 2026).
-
Date: Select the dynamic operational timestamp marker using the calendar picker card.
-
Time: Type out the accurate work schedule check-in hour value.
-
Odometer: Key in the current mileage metric tracking digits.
-
Place: Type the mechanical workshop facility name or specific repair location.
-
-
Append Active Services: Under the SERVICES block segment, tap the + Add service action link. Use the menu panel to choose the precise catalog repair task (such as Air Filter Change) and insert its cost inside the Price field box.
-
Add Context Notes and Receipts: If applicable, write down context descriptions inside the Note input field and utilize the layout tool icons inside the Attachments zone to attach digital invoice images using your system gallery or live camera.
-
Commit and Save the Log: Review the grand total automated configuration calculations on the billing area, then tap the prominent purple action bar at the bottom labeled Create maintenance to permanently deploy the workspace file entry.